Friday, June 14, 2013

Palet Pleasing "Pearing"

The Best Thing Between Three Angles

(Pear-Prosciutto-Blue Cheese-Cherry Puff Pastry)


I know, I know...you want me to put WHAT with WHAT in WHAT?! I was shocked but by golly, it was AMAZING. Seriously. I came up with this recipe last winter for a wine and dinner party where I was chosen to make an appetizer...There wasn't one left, I heard one person went back for 4ths. They are definitely worth the effort for a special occasion.

Ingredients
2 ripe pears (I used Bosc)
1 pkg minced prosciutto
1/4 cup chopped dried cherries
1/2 small onion minced
1/8th cup blue cheese crumbled
1 pckg filo dough
1 cup melted butter 
(mix butter w/olive oil to make it last longer and prevent from firming to soon 75% butter to 25% oil)

**Olive oil as needed** a marinating brush helps too!

First, saute the chopped onion and prosciutto in a pan greased with olive oil. Once the onion has softened and the prosciutto has browned a bit, stir in the pears and dried cherries. Continue to cook until the pears are also softened. Put mixture in a large bowl and let cool to room temperature.


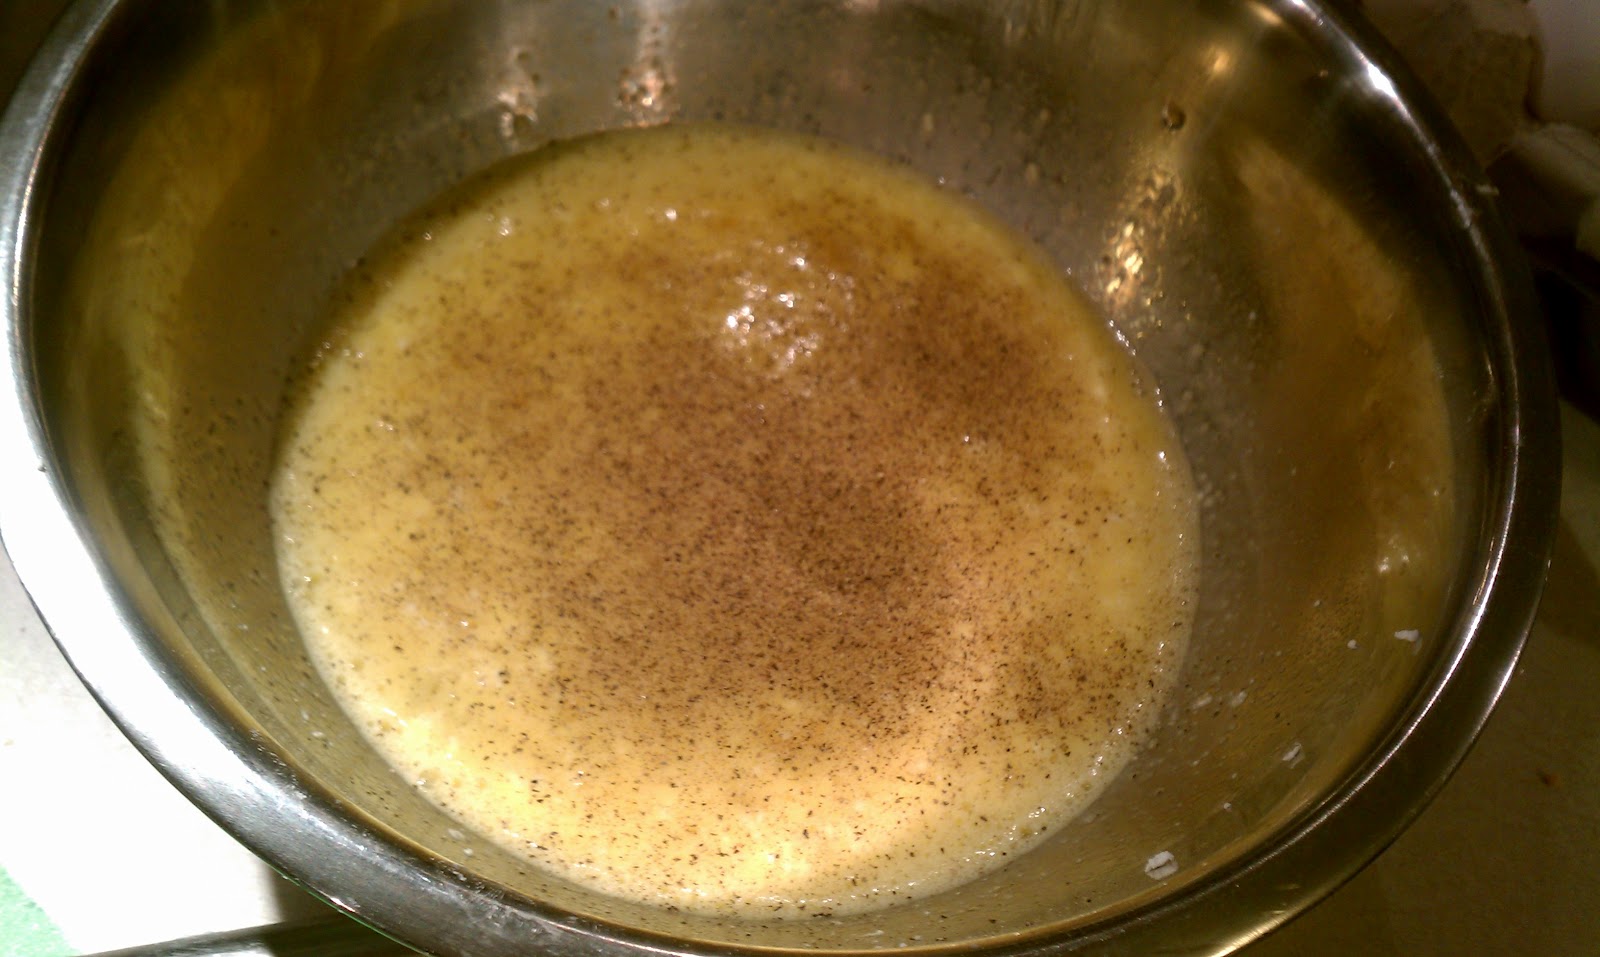
Stir in the crumbled blue cheese so that it is dispersed well throughout the pear/onion mixture.


Open the package of  puff pastry dough and separate the first layer.
**It is very important to use a damp towel, or paper towel to cover the puff pastry dough you're not working with as it dries out very quickly.**

I took a baking sheet and coated it with oil/butter to prevent the sheet of dough from sticking. Then lay the first sheet down (may need to use two at a time if it tears). Using your pastry brush, spoon or hands spread melted butter thinly over dough, it won't take much.

Take a large spoonful of mixture and put in the bottom right corner leaving enough room (about 1") from the edge of the dough. Shape into an imaginary triangle--see to the left.

 Next fold the dough over it from left to right (hot dog style).

Pinch the dough around the edges to help close it then smooth down the rest. Take the mixture and fold it from the bottom corner to the opposite edge. As if you were completing an imaginary square. This will give you another triangle. Coat the top with another layer of the melted butter. Continue to fold repeating this process. Once you reach the end of the sheet, smooth the edges over and coat once more in the melted butter. (No, this isn't healthy but it sure tastes good)


        Set completed triangle on greased baking sheet and repeat process for the next.


Bake these beauties at 375 degrees until golden brown and flaky. You will not be disappointed!

Thursday, October 4, 2012

Lean Meatballs!

Turkey-Spinach-Onion Meatballs!


These meatballs are full of flavor, great on their own or in an italian dish. I made them to top my low carb "spaghetti", which is made from baked spaghetti squash and topped with a tomato sauce.


(I also had a few of these for breakfast with a bit of cottage cheese, great high protein start to the day)

Here are the ingredients you will need...

2lbs                         Lean Ground Turkey
1/2 medium-large    Yellow Onion
1 Cup                      Spinach, Chopped
3 tbs                        Lowery's Garlic Salt
4 tbs                        Kikoman's Teriyaki Sauce and Marinade
1/2 tsp                     Ground Black Pepper
3 tbs                        Olive Oil (to coat pan)


The mixture may be made ahead of time, then refridgerated until ready to bake.


Directions:

Pre-heat oven to 400 degrees
Coat baking dish with olive oil.
Combine all remaining ingredients in large bowl
Mix thoroughly
Shape mixture in to 1 1/2" diameter balls. (makes roughly 20 meatballs)
Put in baking dish keeping close together, they should be touching.
Bake in oven for 35-40 minutes. They will be done once there is little to no liquid remaining in pan and tops are slightly browned.
Let cool for a couple minutes before serving.

Nutrition Info:

Serving size, aproximately 4 meat balls.

301  Calories per serving
   6   Carbs
24g  Fat
31g   Protein
 4g    Sugar

ENJOY!

Tuesday, April 17, 2012

Paleo Friendly and Post Workout Goodness

Cajun Sweet Potatoes!


Here is a side dish, you can pair it with just about any main course or even makes a great snack on it's own. It is quite versatile. I know quite a few people do not like sweet potatoes/yams but I would be curious to see how these stack up in their opinion! Definitely not your normal sweet potato.

These taste great, and are pretty simple. So let's get started!

What you will need:


2-3 Large Sweet Potatoes
1/4 Tsp Black Pepper
1/4 Tsp Cinnamon
1/4 Tsp Dried Thyme
1/4 Tsp Dried Rosemary
1/2 Tsp Garlic Powder
1/4 Tsp Paprika
1/8 Tsp Cayenne Pepper
2 Tbs Olive Oil

Directions:
1.Preheat oven to 375 Degrees F
2. Wash sweet potatoes, cut in half then lengthwise.
3. Brush sweet potatoes with olive oil until lightly coated.
3. On plate mix all spices.
4. Press cut end's into spice and rub in so the open ends are thoroughly coated.
5. Place skin side down on baking sheet.
6. Bake until tender or about 1 hour.


 Alright, so as you can see the spices don't need to be mixed perfect. Just spread it out on the potato afterwards to make sure the coating is even.


I started checking them at about 45min just to be safe, though it really doesn't hurt if they are over done. As long as they are not burnt!


<< Here is a little sneak peak at the completed ensemble.


P.S. If you do try these, please let me know what you think!

Thursday, March 8, 2012

A healthy twist on a delicious anytime (or all the time) meal!

Salmon & Swiss Chard Quiche!

A delicious quiche inspired by leftovers (baked salmon) and a vegetable that I just did not know what to do with Swiss chard)! These two pare wonderfully in this crust-less quiche! With leaving the crust off we're saving the carbs for a better place than the love handles! This quiche only has 150 Calories, and 12g of protein per serving, thus just about completely guilt free!

Alright, so let's get started, first you will need the following:

1 Cup Raw Chopped Swiss Chard (Not Packed)       
1 Filet Salmon -Baked De-boned and Chopped.
(If you're not a fan of salmon feel free to replace with a cooked meat of your choice)
5 Eggs
3 Tsp Minced Garlic      
1 Cup Chopped Yellow Onion 
½ Cup Crumbled Feta
½ Tsp Ground Black Pepper             
1 Tbs Olive Oil


Start by lightly greasing (I use Pam cooking spray) a 9" Pie pan. 

Then heat the olive oil in a large skillet over medium-high heat. Add the onions and cook them while stiring occasionally until they have softened. Add in the salmon and cook until heated through (if starting cold), otherwise until mixed well. 
Stir in the chopped swiss chard and continue cooking until the chard has wilted.


Next...


In a large mixing bowl, combine the eggs, feta cheese, and black pepper.


Add spinach mixture and stir to blend. 
(Best to not think of what this resembles)


At this point it is looking quite unappetizing, but it get's much better from here!


You're almost there!
Scoop this mixture into the greased pie pan, and you're ready for the oven! 

Now, for the hardest part of all, the wait! 
You've got 30 minutes for it to go from vom to nom...


At this point you're place should be smelling quite wonderful. Anyone who does not like salmon may disagree. 

The final result should quite similar to this... now make sure you wait for it too cool a bit! 


This is another one that I like served with a small side of plain fat free greek yogurt and some salsa or hot sauce. If you want to be really naughty though try it covered with a lemon hollandaise sauce, it is wonderful!

Thursday, February 2, 2012

Ridiculously Healthy Chili!


Sarah's Turkey and Black Bean Chili! 

Well, it's that time. Time for the post holiday season, get my fat ass in shape because I can't stand to look at myself anymore, and really want this new pencil skirt...okay so maybe not the last part for all, but still -lets get to it!


This is a very low calorie, low carb chili with lean protein and lots of veggies! I was originally going to make a soup but ended up with this, it's great garnished with greek yogurt, salsa, avacado slices, and feta. I have also put it on a bed of raw spinach which made it even more filling.


*P.S. I did create this one myself, so the recipe may not be in the normal format, but it's pretty much fool proof!


  Ingredients


1 pound lean ground turkey
3/4 red bell pepper chopped
3/4 green bell pepper chopped
2 green onion sliced
1 jalapeno minced
1/2 yellow onion diced
2 tbs minced garlic
1 small zucchini chopped (with skin)
2 tbls ground cumin
1 tbls garlic powder
1 tsp paprika
2 tbls lime juice
1/2 tsp sea salt
1/2 tsp black pepper


Brown ground turkey with 1/4 cup water in large pot over medium high heat.
Add minced garlic and onion and cook until softened and turkey cooked through.
Add black beans, cumin, and paprika, cook until beans are heated.
Stir in remaining veggies.


Cook until veggies have softened stirring often to prevent any sticking to pan.
Add lime juice, black pepper, salt and garlic powder.
Cook another 5-10 minutes over low-medium heat until well combined.


It is good on it's own, however I do love to add just a bit more...
So, I suggest serving with greek yogurt (nonfat plain), your favorite salsa, some avocado slices and feta! 

Feta makes everything betta!!


.

Sunday, December 18, 2011

Stuffin' 'shrooms!

Prosciutto Wrapped-Stuffed Mushrooms! 

Makes about 20 pieces

10 Medium Mushrooms, (Crimini)
  • 1/2 White Onion diced
  • 1pkg Low fat cream cheese softened
  • 8oz Prosciutto (Seasoned preferably)
  • 1 tsp Olive oil
  • 1 tbs Minced garlic
  • 1/4 tsp Cumin
  • 1/4 tsp Cayenne
  • 1 tsp Basil
  • 1 tsp Thyme
  • Pinch Curry powder
Non-stick cooking spray 
Toothpicks


Preheat oven to 400 degrees. Wash Mushrooms and remove stems, then chop in half. Separate prosciutto pieces. Heat olive oil in sauce pan over medium. Add diced onion and minced garlic. Saute until onions soften and garlic slightly browns. Add cumin, cayenne, basil and thyme. Stir until well coated, and spices are aromatic. Mix into softened cream cheese. Spoon about 1 tablespoon scoop into mushroom half. Wrap with prosciutto strips then secure with toothpick through the mushroom. Place on baking sheet and spray with nonstick cooking spray. Cook in oven at 400 degrees or until prosciutto is crisp.


Alright! So this is something I came up with while wandering the grocery store one late evening. The stuffing also makes a great dip for veggies or a spread for crackers, etc. Delicious. 


So pretty simple, saute the diced onions in the olive oil along with the minced garlic until soft and slightly browned. Then add the spices and mix!  
I stirred the mixture until the onions were well coated and spices were mixed well. 


I had left the cream cheese out in a dish while prepping which seemed to be long enough for it to soften. If you haven't, I would say microwaving it (out of the foil wrap if you've got this kind- don't need any fires!)  for about 10-20 seconds should do the trick.


Spoon mixture on top of the softened cream cheese and stir until thoroughly combined. 

Now, if you would like to just make the dip, you're set!


Otherwise...


Next, spoon your filling into the mushroom halves. It takes only about 1 table spoon to fill each. You do not want them to be over filled because this can make a bit of a mess while baking. 

Once filled place cut side down on a strip of prosciutto. I found that they are easiest to wrap when I matched the curve of the mushroom with the rounded edge of the prosciutto. 

Roll the stuffed mushroom fairly tightly with the prosciutto. Do not pull to tight though as the prosciutto will tear.

Secure your wrap with a tooth pick stabbed through the end of the prosciutto, mushroom, and out the other side.

Place the wraps about an inch or so apart on a baking sheet that has been lightly covered with non-stick cooking spray. 

After all mushroom halves have been wrapped, lightly spray the tops to help crisp in the oven.

Bake the wraps in the preheated oven for about 15-20 minutes. If they are not yet crisp after that time has passed they may stay in the oven longer, I would say check on them every 3-5 minutes. 

Once crisp, cool for about 5 minute and they are ready to go!

They are best when fresh and hot, still okay if re-heated in microwave but they can lose the crispness.

 Garnish on a bed of greens with feta, and a drizzle of balsamic across the top. This will help cut down on the richness of the cream cheese and prosciutto while adding a nice contrast,
 flavor and presentation. 

Enjoy!

**My apologies for the final presentation** 
**Made the best out of the supplies at hand during office Christmas party**

Saturday, December 3, 2011

Bublé and Brûlée


First attempt at Crème Brûlée!

Inspired by the lack of Brûlée while at HG Bistro I decided to attempt the ever so wonderful, and horrible for the waistline   
Crème Brûlée!!!


Ingredients

v  6 egg yolks
v  6 tablespoons white sugar, divided
v  1/2 teaspoon vanilla extract
v  2 1/2 cups heavy cream
v  2 tablespoons brown sugar

Makes 5 servings

Preheat oven to 300 degrees F (150 degrees C). Beat egg yolks, 4 tablespoons
sugar and vanilla in a mixing bowl until thick and creamy. Pour cream into a
saucepan and stir over low heat until it almost comes to boil. Remove the
cream from heat immediately. Stir cream into the egg yolk mixture; beat until
combined. Pour cream mixture into the top of a double boiler. Stir over
simmering water until mixture lightly coats the back of a spoon; approximately
3 minutes. Remove mixture from heat immediately and pour into a shallow heat-
proof dish. Bake in preheated oven for 30 minutes. Remove from oven and cool
to room temperature. Refrigerate for 1 hour, or overnight. Preheat oven to
broil. In a small bowl combine remaining 2 tablespoons white sugar and brown
sugar. Sift this mixture evenly over custard. Place dish under broiler until
sugar melts, about 2 minutes. Watch carefully so as not to burn. Remove from
heat and allow to cool. Refrigerate until custard is set again.


**Make sure to preheat oven! I always seem to forget this!


The above recipe was the first I found, relatively simple ingredients and looks like one that I could tweak for fun in the future.


First off the separating of yolks from whites was a pretty easy task, and kind of nice to have egg whites ready for omlettes in the morning! Mix sugar and egg yolks along with the vanilla extract. Might be fun to try with other flavors too. I had thought about orange, but someone said that didn't sound too great. So... you pick!


The second step, heat the heavy cream until it ALMOST boils -for fun I added a bit of culinary lavender to mine :) 
If you are like me you probably would like to know how to tell when something is ALMOST boiling. After quite a while of stirring and waiting I noticed it to steam heavily. Then if you stop stirring you can notice that there appears to be some movement under the surface of the heavy cream. Evidently this is the ALMOST boiling that they refer to. I did however still wait seeing how I was skeptical about it really being done, and not wanting to ruin my first batch of these. Very shortly after this stage, it does boil. Now that you know, just stop at that first stage :)


*I strained lavender from mixture prior to adding to eggs.


Mix the ready cream with you egg mixture and stir with whisk until thoroughly disolved. Doesn't take to long, less than a minute I would say.


All around everything was relatively simple and was going well until I realized I was lacking a double boiler... after searching through cupboards I found that using a small metal mixing bowl that can fit into a pot/pan of water does the trick!


**side note make sure it doesn't fit perfectly otherwise removing the bowl to pour the mixture into the ramekins can be a painful and difficult task. I learned the hard way.


Next, I poured the egg and cream mixture into the top of my make shift double boiler which I had the water in the pan simmering already. Stir with wooden spoon until mixture is thick enough to coat the back of the spoon well. This really didn't take long maybe about 5 minutes. I did have a bit of a panic though when I couldn't get my metal bowl out of the pan! Just a slight burn, mess on the stove and a bit of curdling was the result., but I did it!


Now instead of pouring the mixture directly into the ramekins, I first poured it into a large glass measuring cup. This made pouring much easier and less of a mess!


I chose to arrange my glass ramekins onto a baking sheet for easy transportation in and out of the oven. I had noticed in some recipes that it suggests surrounding the ramekins with water as well, but I decided to follow this recipes directions and did not.


Now to bake!!!


I was very excited waiting for my little brulees to bake. I not so patiently watched with the oven light on while listening to my cooking friends Mr.Buble, Mr.Sinatra. and Mr.Cole. Very good, but would of been better with some bubbley. Then it could of been a Brulee, Buble, and Bubbly night!!!


Yeah, I tend to entertain myself while alone, thankfully for others I tend to keep my silly thoughts to myself. However I still like that idea...Might have to use it for the name of a cooking party...


Okay, back to the cooking!
After 30 minutes are up they should look about like this-->
Nice and firm looking with a bubbly texture. I let them cool on the pan for about 5 minutes prior to putting in the fridge. As I didn't want to risk breaking the glass shelf. 


Now wait an hour for them to chill! (Or overnight)


After they are chilled mix the brown sugar and white sugar together and put through a sifter. If you do not have one, try putting it through a mesh strainer just so there are no clumps. Then sprinkle this mixture atop of each brulee so they are thoroughly coated. Then broil. If you have the option for broiling high or low, chose high. It worked out well for me. 


Then I went back to watching. I would say carefully monitor them because while broiling they can go from perfect to burnt in no time. I think my broiling took about 7 minutes. 


Next back to the refrigerator!


They only need to be in about 10-15 min to firm up again, but I decided to wait overnight for mine as it had gotten quite late. 


I had one that very next morning for breakfast and they had turned out great! Not too eggy and had a nice creamy texture. One disappointment though was the lavender flavor did not come through. I will have to play with the lavender a bit more and see if I can't make it work. 


ENJOY!